Creating sharp, print-ready worksheets is harder than it looks. Many educators and faith leaders try to make worksheet digital printable versions using default software settings, only to end up with blurry text, clipped edges, or color that looks nothing like the screen preview. This guide covers the technical requirements, tools, and step-by-step process to produce worksheets that print cleanly every time. You will also learn how AI tools speed up creation without requiring design experience.
Table of Contents
- Understanding print-ready requirements for digital worksheets
- Preparing your document using Microsoft Word for crisp printable worksheets
- Using AI-powered tools to create and convert digital worksheets quickly
- Verifying and troubleshooting printable worksheet quality before distribution
- Rethinking worksheet creation: What educators and faith leaders often miss
- Streamline your worksheet creation with Worksheet Wonder Pro
- Frequently asked questions
Key Takeaways
| Point | Details |
|---|---|
| Maintain 300 DPI resolution | Ensuring your worksheet is created at 300 DPI avoids pixelation and guarantees clear print quality. |
| Set correct page size early | Design your worksheet at final print dimensions in Word to prevent scaling issues and blurry text. |
| Disable image compression | Turning off image compression in Word preserves image clarity in exported PDFs for printing. |
| Verify PDFs at high zoom | Zoom in at 400% to catch any pixelation or rasterized text before printing multiple copies. |
| Use AI tools strategically | Leverage AI-powered worksheet makers to save time and produce print-ready worksheets tailored to your needs. |
Understanding print-ready requirements for digital worksheets
Print quality starts before you open any design software. The most common reason worksheets look sharp on screen but blurry in print is resolution. Worksheets require 300 DPI minimum resolution for images at final print size, with a 3mm (0.125 inch) bleed on all sides and CMYK color mode to ensure sharp text and graphics.

Key print-ready specifications at a glance:
| Specification | Recommended setting | Why it matters |
|---|---|---|
| Resolution | 300 DPI minimum | Prevents pixelation in print |
| Bleed | 3mm on all sides | Avoids white borders at edges |
| Color mode | CMYK | Accurate color on print printers |
| Font handling | Fully embedded | Consistent text rendering |
| Zoom test | 400% in PDF viewer | Reveals print issues early |
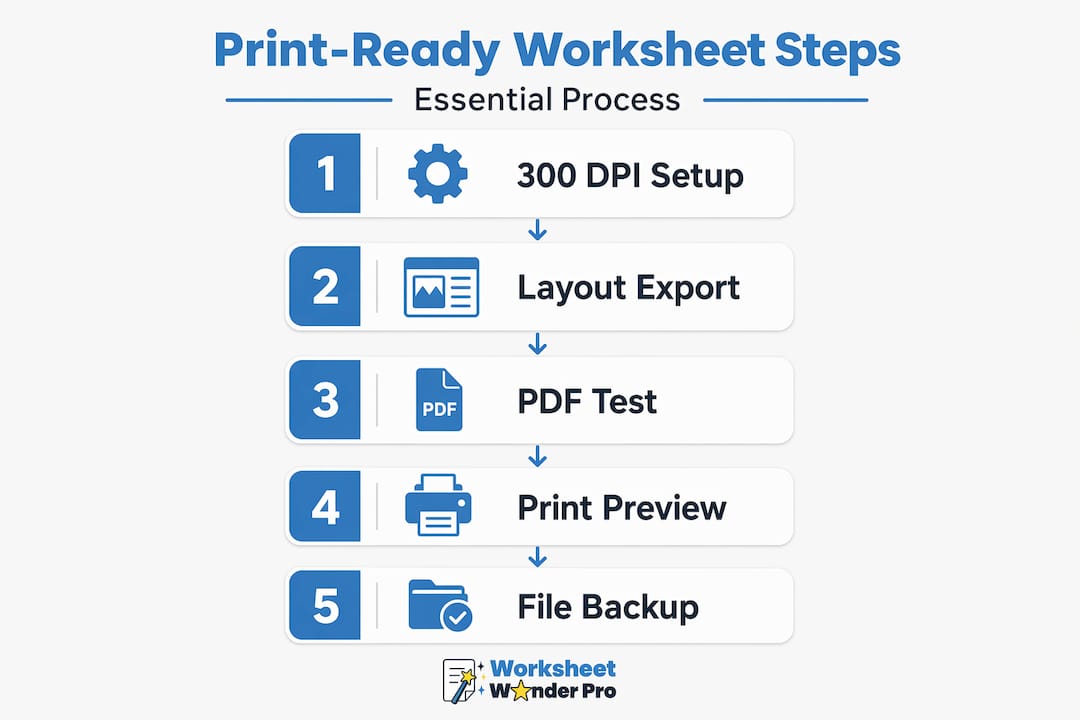
Before exporting any file, check these points against your print-ready worksheet checklist:
- Set all placed images to 300 DPI at their final display size, not their original file size
- Add a 3mm bleed if your design has color or images extending to the page edge
- Switch from RGB to CMYK color mode in your design software settings
- Embed all fonts, not just the ones you think are standard system fonts
- Review educational worksheet design tips to align technical specs with visual clarity
Pro Tip: Zoom the exported PDF to 400% before printing a single copy. If text appears fuzzy or pixelated at that zoom level, your export settings need adjustment.
Preparing your document using Microsoft Word for crisp printable worksheets
Microsoft Word is the most common tool educators use, and it handles print-ready exports well when configured correctly. Most print problems from Word come from default settings that prioritize file size over print quality.
Follow these steps for a clean export:
- Set the page size to your final print size before adding any content. Changing it later can shift layouts.
- Go to File > Options > Advanced and under "Image Size and Quality," check "Do not compress images in file" and set the default resolution to High fidelity.
- When exporting, choose File > Save As > PDF, then select "Standard (publishing online and printing)" rather than "Minimum size."
- Open the exported PDF in a viewer and zoom to 400% to check text sharpness and image clarity.
- If anything looks blurry, return to step 2 and verify compression is disabled before re-exporting.
Microsoft Word's Save As PDF method, optimized for print as of 2026, preserves 100% of formatting including tables and fonts when set to "High fidelity" resolution. Additional settings matter too. Switching to "Do not compress images" and 300 DPI in Advanced settings, then zooming the PDF to 400% before bulk printing, prevents the most common quality failures.
Key settings to verify before every export:
- Image compression is off
- Resolution is set to High fidelity or 300 DPI
- PDF export type is Standard, not Minimum size
- All fonts are embedded (visible in PDF properties under Document Properties > Fonts)
See more about exporting worksheets as PDFs for ministry and classroom use.
Pro Tip: Keep the original Word file alongside the exported PDF. If a student or ministry group needs a text change, you can edit and re-export in minutes rather than rebuilding from scratch.
Using AI-powered tools to create and convert digital worksheets quickly
AI tools have changed what is possible for educators who do not have design backgrounds. Instead of building layouts manually, a digital worksheet creator powered by AI generates a ready-to-print worksheet from a text prompt. That means a Sunday school teacher can have a Bible verse fill-in-the-blank sheet in under two minutes.
Google Gemini can generate printable worksheet PDFs at 300 DPI in seconds, enabling ministry activity creation without design software. Other online worksheet maker tools offer similar output. AI tools like Pixazo generate high-DPI print PDFs with transparent PNG options quickly, but transparency must be flattened before school copier printing.
Practical points to check when using AI-generated worksheets:
- Confirm the downloaded file is 300 DPI, not a screen-optimized 72 DPI version
- Flatten any transparency layers before sending to a copier or laser printer
- Check that text is selectable in the PDF, not rendered as an image, for better print clarity
- Free plan limits on a customizable AI worksheet maker may restrict downloads; upgrading removes interruptions during lesson prep
- Use AI to generate multiple versions of the same worksheet at different difficulty levels for differentiated instruction or varied ministry groups
Access AI worksheet creation tools built specifically for educators and faith leaders to skip generic design platforms that do not understand classroom or ministry formats.
Pro Tip: When using any AI worksheet tool, always test-print one page before sending a full batch to the copier. AI-generated layouts can sometimes place content too close to the trim edge.
Verifying and troubleshooting printable worksheet quality before distribution
Verification takes five minutes. Skipping it can cost an entire print run. Screen-optimized 72 to 150 DPI files fail 90% of print jobs with pixelation, and 300 DPI prevents surprises when printing 10 to 50 copies weekly.
Follow this verification sequence before any distribution:
- Open the exported PDF in a viewer and zoom to 200% first, then 400%.
- Check that all text is sharp and not fuzzy or stepped at the edges.
- Confirm the page dimensions match the intended paper size (letter, A4, or custom).
- Verify that no critical content sits within 3mm of the page edge.
- Print one copy and compare it visually to the screen version.
- If text looks rasterized (meaning it looks like an image rather than sharp text), re-export with font embedding enabled.
- Save a backup of the source file before distribution.
Common issues and what causes them:
- Blurry text: Image compression was left on during export
- White borders on full-bleed designs: Bleed was not set before export
- Wrong colors in print: File was exported in RGB instead of CMYK
- Missing or substituted fonts: Fonts were not embedded in the PDF
Use the worksheet printing checklist to track these steps across multiple worksheet files.
Always test with one printed copy first. What looks sharp at 100% zoom can still reveal issues on paper that no screen preview catches.
Pro Tip: If your school or church copier consistently produces gray or dull prints, the issue may be your CMYK black values. Use a true black (0, 0, 0, 100) rather than a rich black mix for text-heavy worksheets.
Rethinking worksheet creation: What educators and faith leaders often miss
Most guides stop at technical specifications. But technical correctness is only half the problem. The other half is how educators and faith leaders use what they create.
Many spend time perfecting a single worksheet version when the actual need is multiple tailored versions. A classroom with varied reading levels needs three difficulty tiers, not one average. A ministry group serving both adults and children in the same session needs two layout versions. AI tools make creating those variants fast, but only if the person using them thinks to ask.
Flattening transparency is another overlooked step. It takes seconds in any export dialog, and skipping it causes partial print failures, missing background elements, or blank sections on the page. This is the kind of issue that disrupts a classroom mid-lesson or delays a ministry handout during an event.
The PDF zoom test also gets skipped regularly. Most educators trust the export and send it to print. But reviewing creative worksheet design ideas alongside your technical settings reveals how design choices and print settings interact. A well-designed worksheet that fails at the printer is not a finished product.
Consistency matters too. When worksheets across a unit or series share the same font, color, and layout logic, students and participants recognize the format immediately. That familiarity reduces cognitive load and keeps attention on the content. Investing in one clean template and reusing it saves more time than starting fresh each session.
Streamline your worksheet creation with Worksheet Wonder Pro
Worksheet Wonder Pro is built specifically for educators, homeschool families, and ministry leaders who need professional-quality worksheets without a design background. It handles the technical requirements automatically, from embedded fonts to proper export resolution.
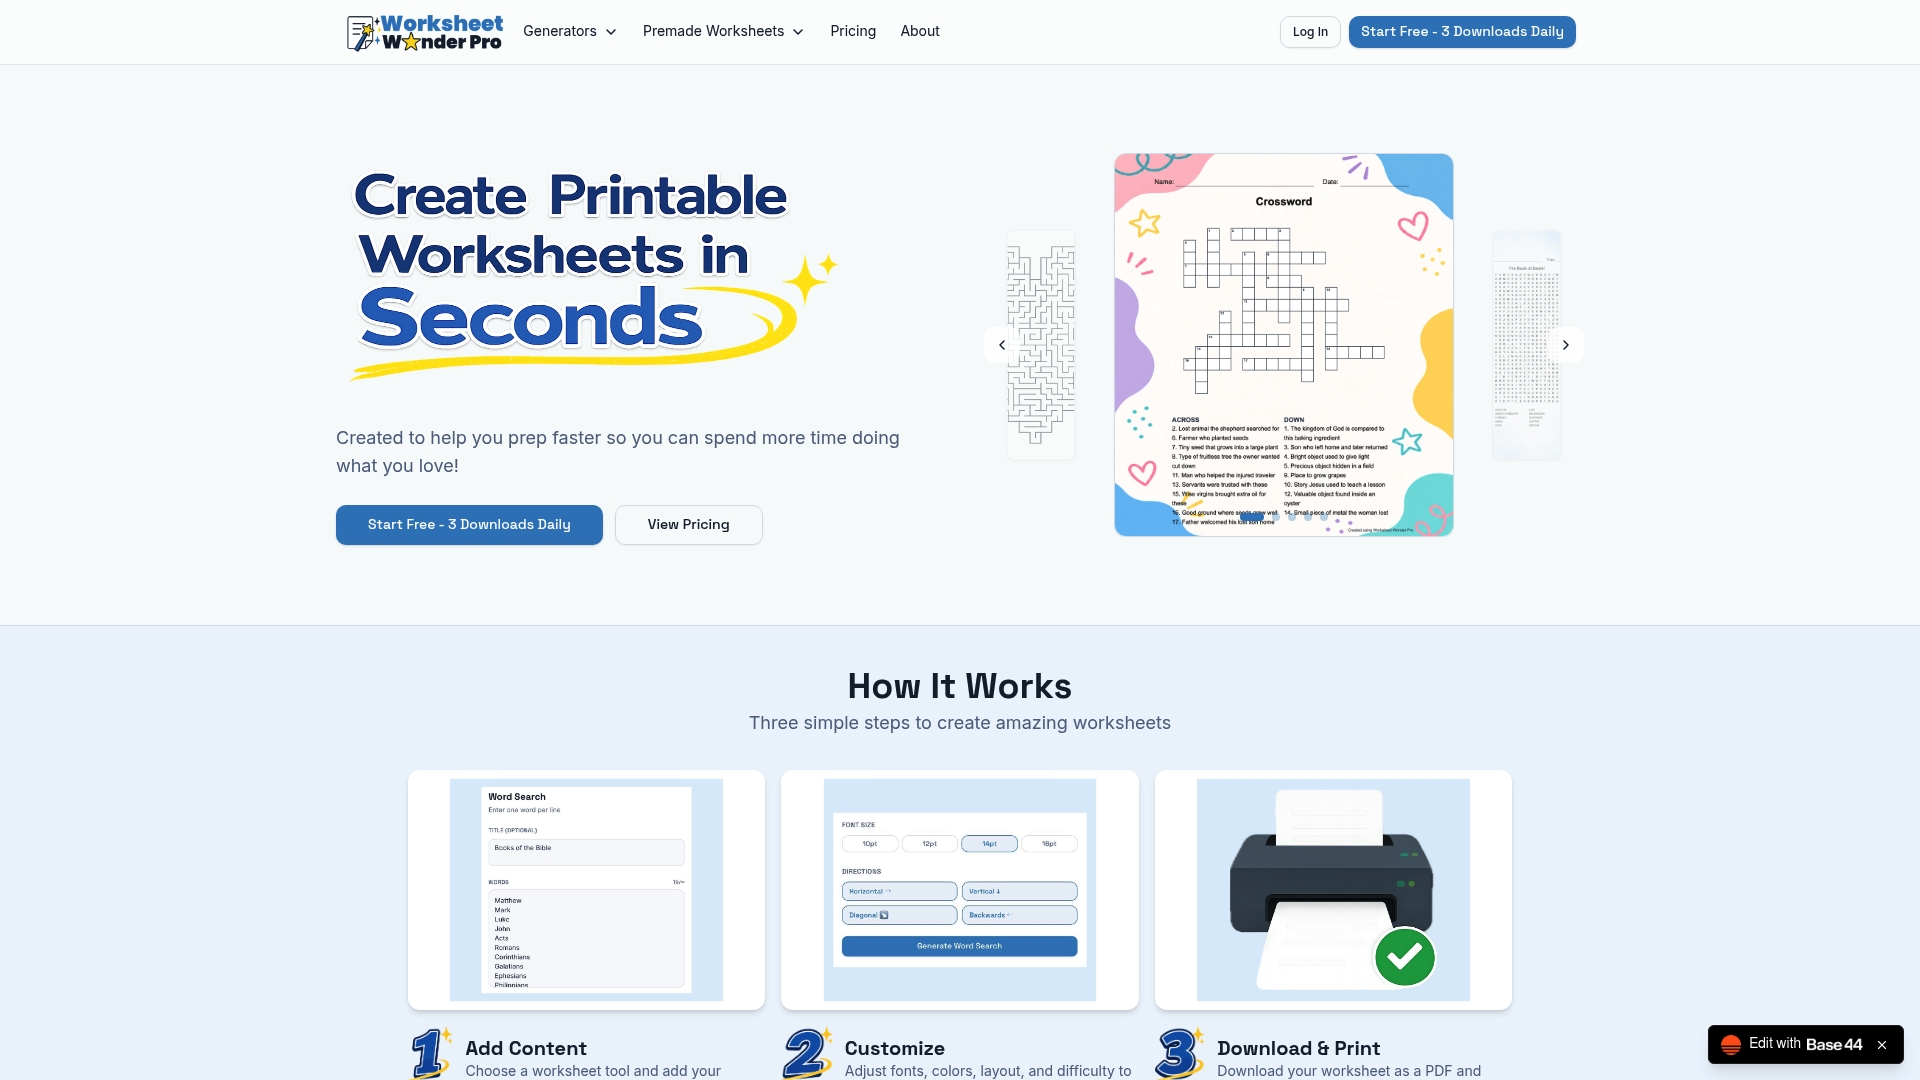
The Worksheet Wonder Pro main site gives access to an AI-powered worksheet creator that generates print-ready files from simple prompts. Premade templates accelerate lesson and ministry planning from day one. The Worksheet Wonder Pro Pro plan includes unlimited downloads, advanced customization, and tools for both printable and interactive digital worksheets. Export settings for 300 DPI, CMYK color, and font embedding are built in, removing the manual configuration steps covered in this guide.
Frequently asked questions
What resolution should digital worksheets be for printing?
Digital worksheets require 300 DPI minimum resolution at the final print size to produce sharp, clear printed results without pixelation.
How can I export a Word document as a print-ready PDF?
In Word, use Save As PDF with the "Standard (publishing online and printing)" option, disable image compression, and embed fonts. Then zoom to 400% to verify sharpness before printing.
Can AI tools help create printable worksheets?
Yes. Google Gemini generates printable PDFs at 300 DPI from simple prompts, and tools like Pixazo produce high-DPI outputs quickly, though transparency layers must be flattened before printing.
What are common mistakes to avoid when making digital printable worksheets?
Avoid using screen-optimized files under 300 DPI, which fail 90% of print jobs. Also avoid compressing images in Word and skipping the "Do not compress images" setting or neglecting to flatten transparency before sending files to a copier.
Why preview PDF worksheets at 400% zoom?
Zooming to 400% before bulk printing reveals pixelated or rasterized text and images that are not visible at normal view, preventing wasted print runs.